
Quick Overview
- Mow around trees by staying at least 6-12 inches from the trunk and using a string trimmer for anything closer – direct mower contact damages bark and compresses roots.
- Always mow the perimeter of beds and obstacles first, then work outward – this prevents scalping edges on your second pass.
- Mulch rings around trees eliminate the need to mow right up to the trunk and save real time on every mow.
- Match your tool to the obstacle: string trimmer for tight spots, edger for bed borders, mower for anything with 18+ inches of clearance.
- Rushing obstacle work causes most visible yard damage – a slow first pass around obstacles takes 5 extra minutes and prevents weeks of recovery time.
I’ve hit a root hard enough to stall a mower. I’ve also mowed straight through the edge of a raised flower bed – twice – on a Georgia property with old magnolias and a border of ornamental grasses that took three seasons to establish. Learning how to mow around trees properly wasn’t something I picked up from a manual. I learned it by wrecking things first.
This guide is for homeowners with established yards – the kind with mature trees, beds close to the lawn, or obstacles like AC units, mailbox posts, and garden statues that make every mowing session feel like an obstacle course. If your yard is perfectly flat with nothing in the way, this isn’t for you. But if you’re tired of edges that look half-chewed and turf that takes damage every single week, read on.
Why Mowing Around Obstacles Is Harder Than It Looks
Most mowing damage doesn’t happen in open lawn. It happens in the two feet around every tree, bed, and post in your yard.
The Real Damage Happens When You Rush
When you’re moving fast, obstacles catch you off guard. The mower deck clips a root. The blade scalps the soil at a bed edge. You overcorrect and leave a strip of uncut grass you miss entirely.
The frustrating part is that the damage compounds. One scalped pass near a tree trunk weakens bark. Do it four times a season and you’ve created an entry point for disease or insects. I saw this on a Minnesota property where frost heaves had pushed oak roots close to the surface – the homeowner had unknowingly been grinding over the same two roots every week for two years. The tree was showing stress by late summer.
Slow down around obstacles. Not to a crawl, but enough to make intentional passes instead of reactive ones.
Your Mowing Pattern Matters More Than You Think
Most people approach obstacles the same way every time – swing wide, make a rough pass, move on. That inconsistency is what creates worn paths, uneven cuts, and missed strips.
A repeatable pattern solves this. I’ll cover specific patterns later in this article, but the core idea is: decide how you’ll handle each obstacle before you start, not while you’re already moving.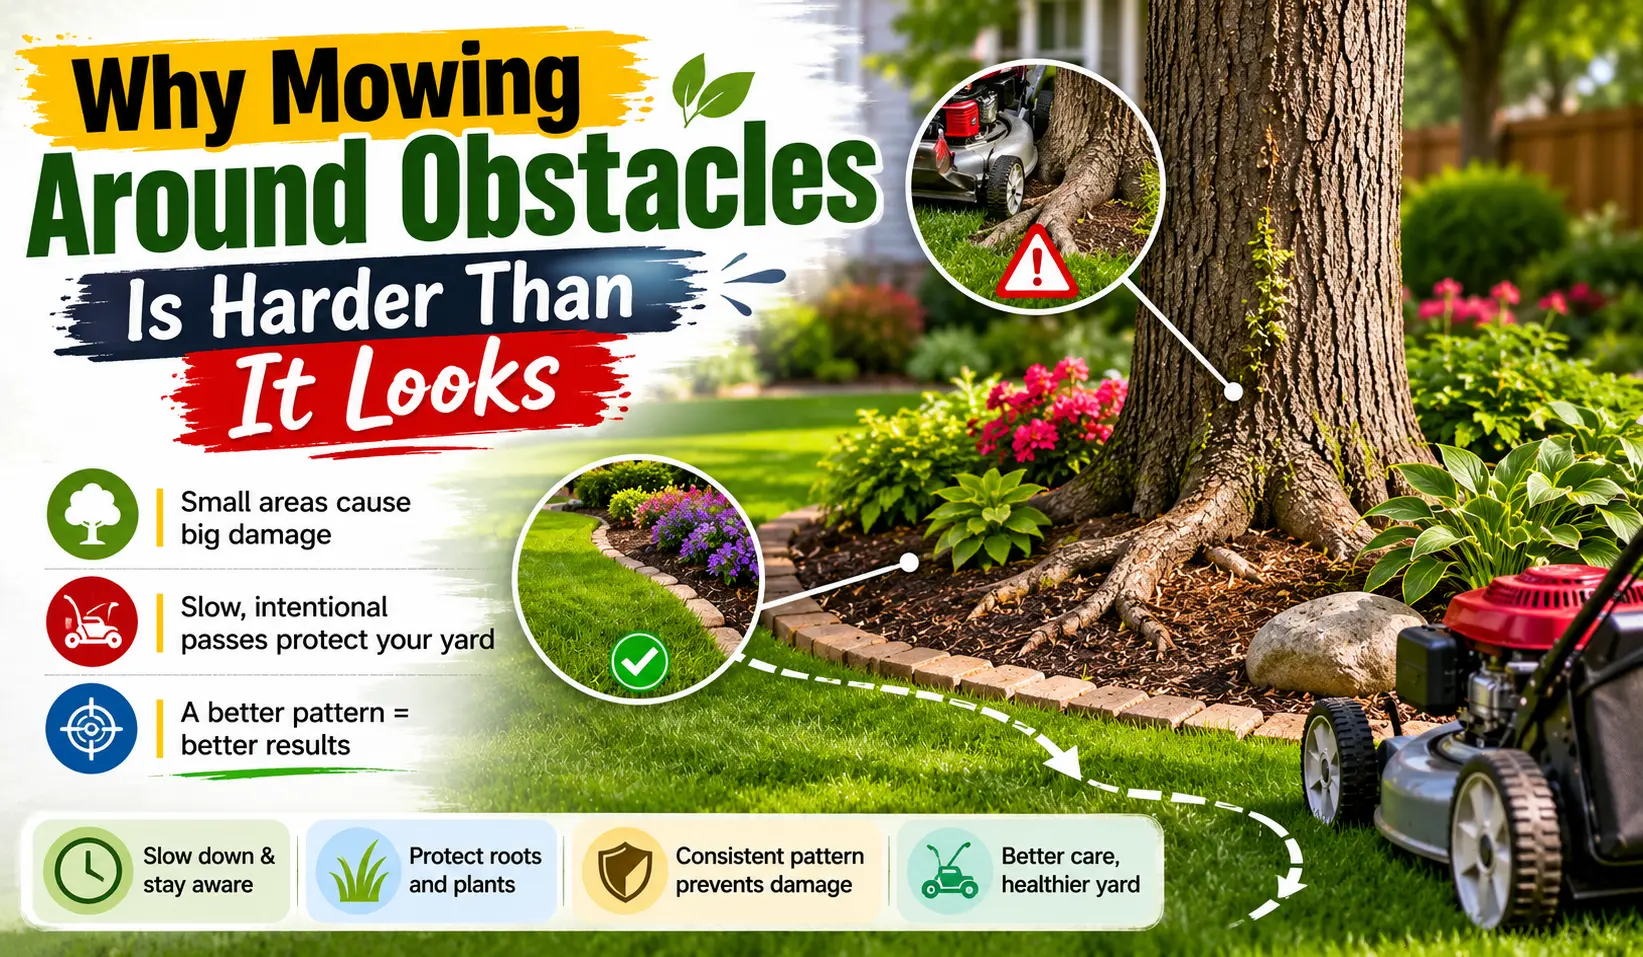
How to Mow Around Trees Without Damaging Them
The goal when mowing near trees is simple – cut the grass, don’t touch the tree. That sounds obvious until you’re navigating surface roots on a mature oak at the end of a long mowing session.
Understanding the Root Zone and Why It’s Fragile
Tree roots extend well beyond the drip line – often two to three times the width of the canopy. The feeder roots closest to the surface sit in the top 6-12 inches of soil, and they’re doing most of the tree’s water and nutrient absorption.
Mower tires compress that soil every pass. Blade contact cuts roots directly. Both weaken the tree over time, and the effects are slow enough that most homeowners don’t connect them.
In suburban Phoenix, I’ve watched decorative boulders placed near trees actually help – they force mowers to stay further away and reduce soil compaction in the root zone without anyone planning it that way.
The Right Distance to Keep Your Mower From the Trunk
Keep your mower deck at least 6 inches from the trunk on young trees, 12 inches on mature trees with visible surface roots. On any tree with buttress roots – those wide, flared roots at the base – give yourself even more clearance.
If you can see roots, the mower doesn’t belong near them. Use a trimmer instead.
When to Use a String Trimmer vs. a Mower
Use a string trimmer for anything within 12 inches of a trunk, any spot with surface roots, and any area where the mower deck would need to tilt to clear an obstacle.
Keep trimmer line speed moderate near bark. High-speed line contact against a trunk causes the same damage as repeated mowing – it strips bark, introduces wounds, and weakens the tree. Keep the line horizontal and pointed at the grass, not the trunk.
Use the mower for anything with clear, flat ground and 18+ inches of space from the obstacle.
Mulch Rings – The Lazy Genius Trick That Actually Works
A 3-4 inch deep mulch ring around a tree, extending 2-3 feet from the trunk, eliminates the need to mow or trim near the base entirely. The grass doesn’t grow there. The mower never has to go near the trunk.
This isn’t just convenient – it actively helps the tree. Mulch retains moisture, regulates soil temperature, and stops mowers and trimmers from causing damage. The smell of fresh cedar mulch going down in spring is one of the better parts of this job.
I put mulch rings on every tree I maintain long-term. The one-time effort pays back on every mow after that.
Mowing Method by Tree Type and Trunk Size
| Tree Type | Trunk Diameter | Recommended Method | Trimmer Needed? |
|---|---|---|---|
| Young ornamental (dogwood, redbud) | Under 4 inches | Mower at 12-inch clearance | Yes, for base |
| Medium shade tree (maple, ash) | 4-12 inches | Mower at 12-inch clearance | Yes, for base |
| Mature oak or elm | 12+ inches | Mow to drip line, trim inside | Yes |
| Tree with surface roots | Any | Mow outside roots only | Yes, near roots |
| Tree with mulch ring | Any | Mow up to mulch edge | No |
Mowing Around Flower Beds and Garden Borders
Flower beds are where most visible edge damage happens. One wrong pass and you’ve scalped a 6-inch strip of turf or torn up a border plant that took two seasons to fill in.
The key is treating beds as defined zones with fixed edges – not vague areas you navigate around differently every week.
Edging First or Mowing First? Here’s the Right Order
Edge first. Always.
When you edge before mowing, the clippings from the edger land on the lawn side and get picked up by the mower on the next pass. When you mow first, you’re blowing clippings into the bed and then trying to clean them out.
Edging first also gives you a clear visual line to follow when you make your perimeter mowing pass. That line is the difference between a clean result and a ragged one.
How to Create a Clean Border Without Scalping
Scalping happens when the mower deck drops into a dip at the bed edge and the blade takes soil or plants instead of grass. Two things cause it: soft soil at the edge, and mowing at too sharp an angle to the border.
Always approach a bed edge parallel to it on your final pass, not at an angle. Keep your mower speed slow enough that you can hold the deck flat. If the edge has soft or uneven soil, pack it down before mowing season starts – a tamped edge holds up under tire pressure far better than loose soil.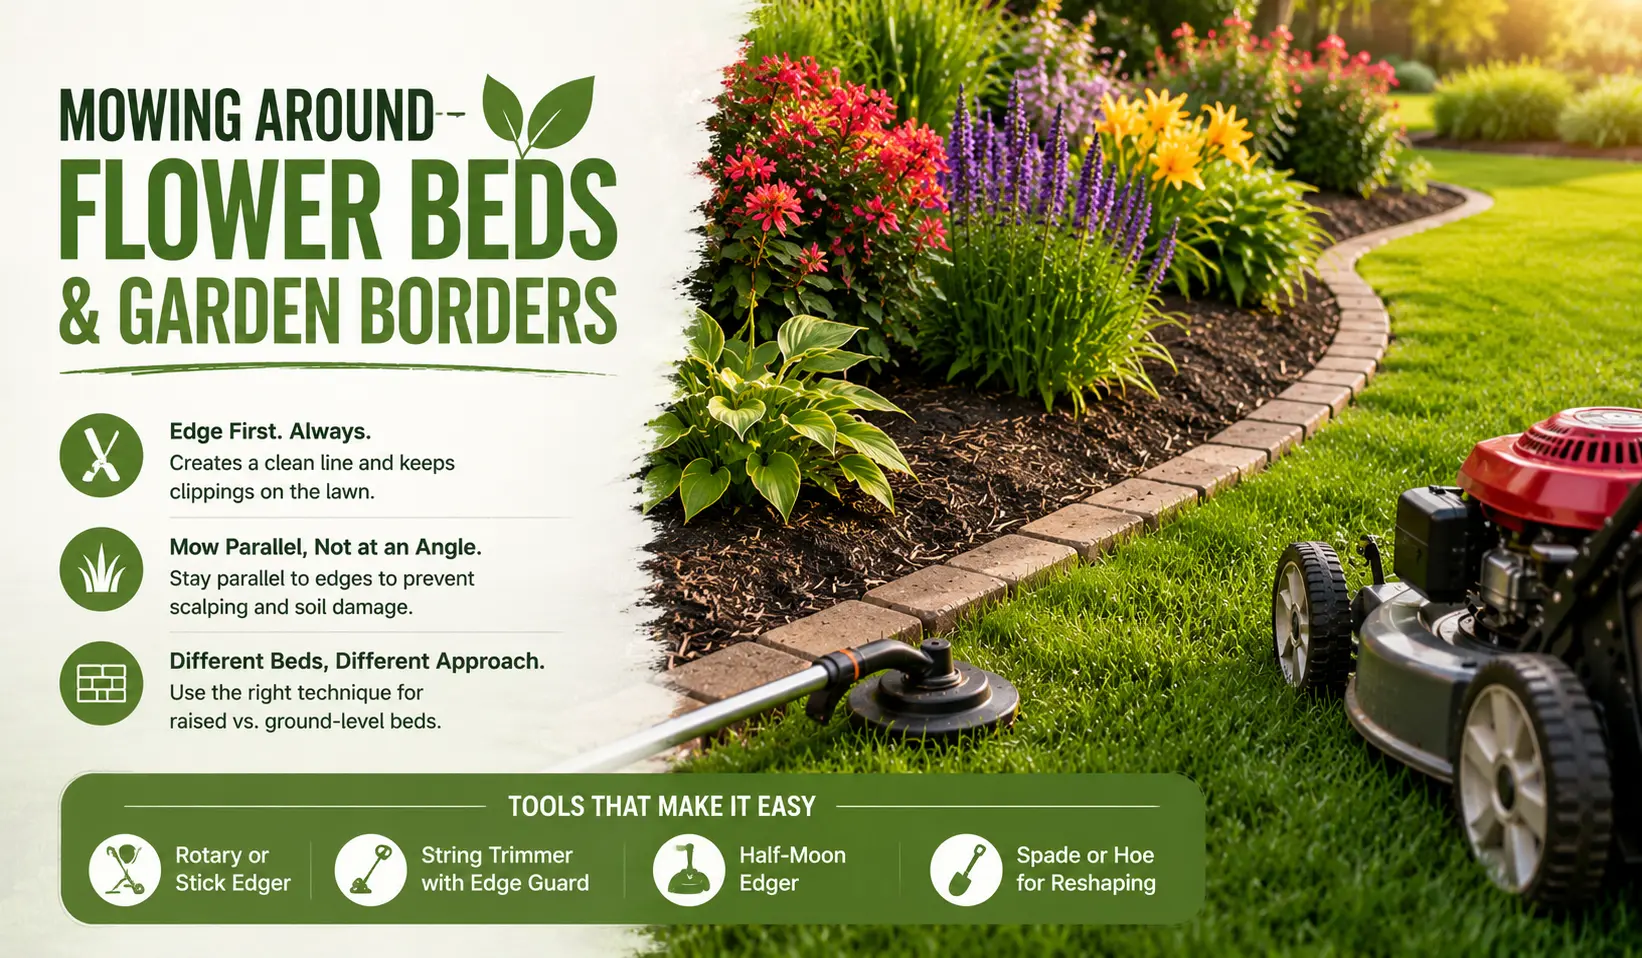
Raised Beds vs. Ground-Level Beds – Different Approaches
Raised beds are easier to mow around because the physical wall gives you a hard stop for the mower tire. The risk is the opposite of scalping – you end up leaving a strip of uncut grass between the mower deck and the bed wall that the mower can’t reach.
For raised beds: run the mower tire right along the outside edge of the wall, then follow with a trimmer for the strip the deck missed.
Ground-level beds need more care. There’s no hard stop. The edge can migrate inward over the season as grass encroaches. Re-edge at least twice per season to maintain a defined line.
Tools That Make This Way Easier
- Rotary edger or stick edger for defining bed borders before each mow
- String trimmer with an edging guard for beds where a hard edger won’t fit
- Half-moon edger for re-cutting overgrown border edges at the start of the season
- Garden hoe or flat spade for resetting the physical edge of ground-level beds that have migrated
A battery-powered stick edger changed how I handle beds. Five minutes of edging before every mow takes a task that used to cause visible damage and makes it almost automatic.
Best Approach by Bed Type
| Bed Type | Edge First? | Mower Clearance | Trimmer Needed? |
|---|---|---|---|
| Raised bed with timber border | Yes | Run tire against wall | Yes, inside strip |
| Raised bed with stone border | Yes | 6-inch clearance | Yes |
| Ground-level with defined edge | Yes | Follow edge closely | Sometimes |
| Ground-level with soft/migrating edge | Yes | 6-inch clearance | Yes |
| Curved informal border | Yes | Wide pass + trimmer | Yes |
Handling Specific Obstacles in Your Yard
Not everything fits into the “tree” or “bed” category. Yards collect obstacles over time – some placed intentionally, some just there when you bought the house.
AC Units, Downspouts, and Foundation Edges
AC condenser units usually sit on a pad 6-12 inches off the ground. The risk isn’t the unit itself – it’s the refrigerant lines and electrical conduit running along the side. Keep mower blades away from any exposed lines.
Trim around the pad, not under the unit. Most pads have a 2-3 inch gap between the ground and the frame – never try to run a trimmer under there. Dirt, grass, and debris near the unit’s base don’t need to be perfectly manicured.
Foundation edges and downspout splash blocks are similar. Mow up to within 6 inches, trim the rest. The goal is clean, not perfect.
Mailboxes, Posts, and Garden Statues
Posts are the most common cause of trimmer line breakage and lawn striping. The instinct is to get right up against them on every pass. The better approach: make one careful trimmer pass around the base, then leave it.
For garden statues and decorative features, decide in advance whether you’ll mow around them or maintain a small gravel or mulch footprint at the base. A 6-inch mulch ring around a statue base takes two minutes to install and eliminates the trimmer pass entirely.
I once spent 20 minutes wrestling a string trimmer around a concrete birdbath in a suburban Zoysia lawn before the homeowner mentioned there used to be mulch there. The mulch approach is almost always faster.
Slopes, Dips, and Uneven Ground Near Obstacles
Uneven ground amplifies every other problem. A slight dip near a tree base becomes a scalp point. A slope toward a foundation edge means the deck wants to tilt into the obstacle.
On slopes near obstacles, mow across the slope (parallel to the obstacle), not toward it. This keeps the deck level and gives you more control over the final approach distance.
In areas with frost heaves – common in Minnesota and other northern states – check obstacle clearances at the start of each season. Roots and footings shift over winter, and a clearance that worked last fall may not work in spring.
Obstacle Type vs. Best Tool and Technique
| Obstacle | Best Tool | Approach | Common Mistake |
|---|---|---|---|
| Tree trunk | String trimmer | 12-inch mower clearance, trim inside | Trimmer line hitting bark |
| Surface roots | String trimmer only | No mower near roots | Running mower deck over roots |
| AC unit pad | String trimmer | Trim pad edges, skip under-unit | Mowing too close to conduit |
| Mailbox post | String trimmer | One careful pass around base | Too many passes, soil wear |
| Garden statue | Mulch ring + mower | Mow up to mulch edge | No defined boundary |
| Raised bed wall | Edger + mower | Mow against wall, trim strip | Skipping the edger |
| Downspout/splash block | String trimmer | Trim outside edges only | Running mower over block |
Mowing Patterns That Make Obstacle Work Easier
How you sequence your passes determines whether obstacle work is quick and clean or slow and frustrating.
The Circle Method Around Trees and Beds
For any round or irregular obstacle – trees, island beds, large boulders – start with a circle pass at the correct clearance distance. One pass around the entire obstacle, parallel to its edge.
Then work outward from that first circle in straight passes. This gives you a clean boundary and eliminates the awkward angle problem that causes scalping.
The circle method takes one extra pass on your first mow with this approach. After that, it becomes natural.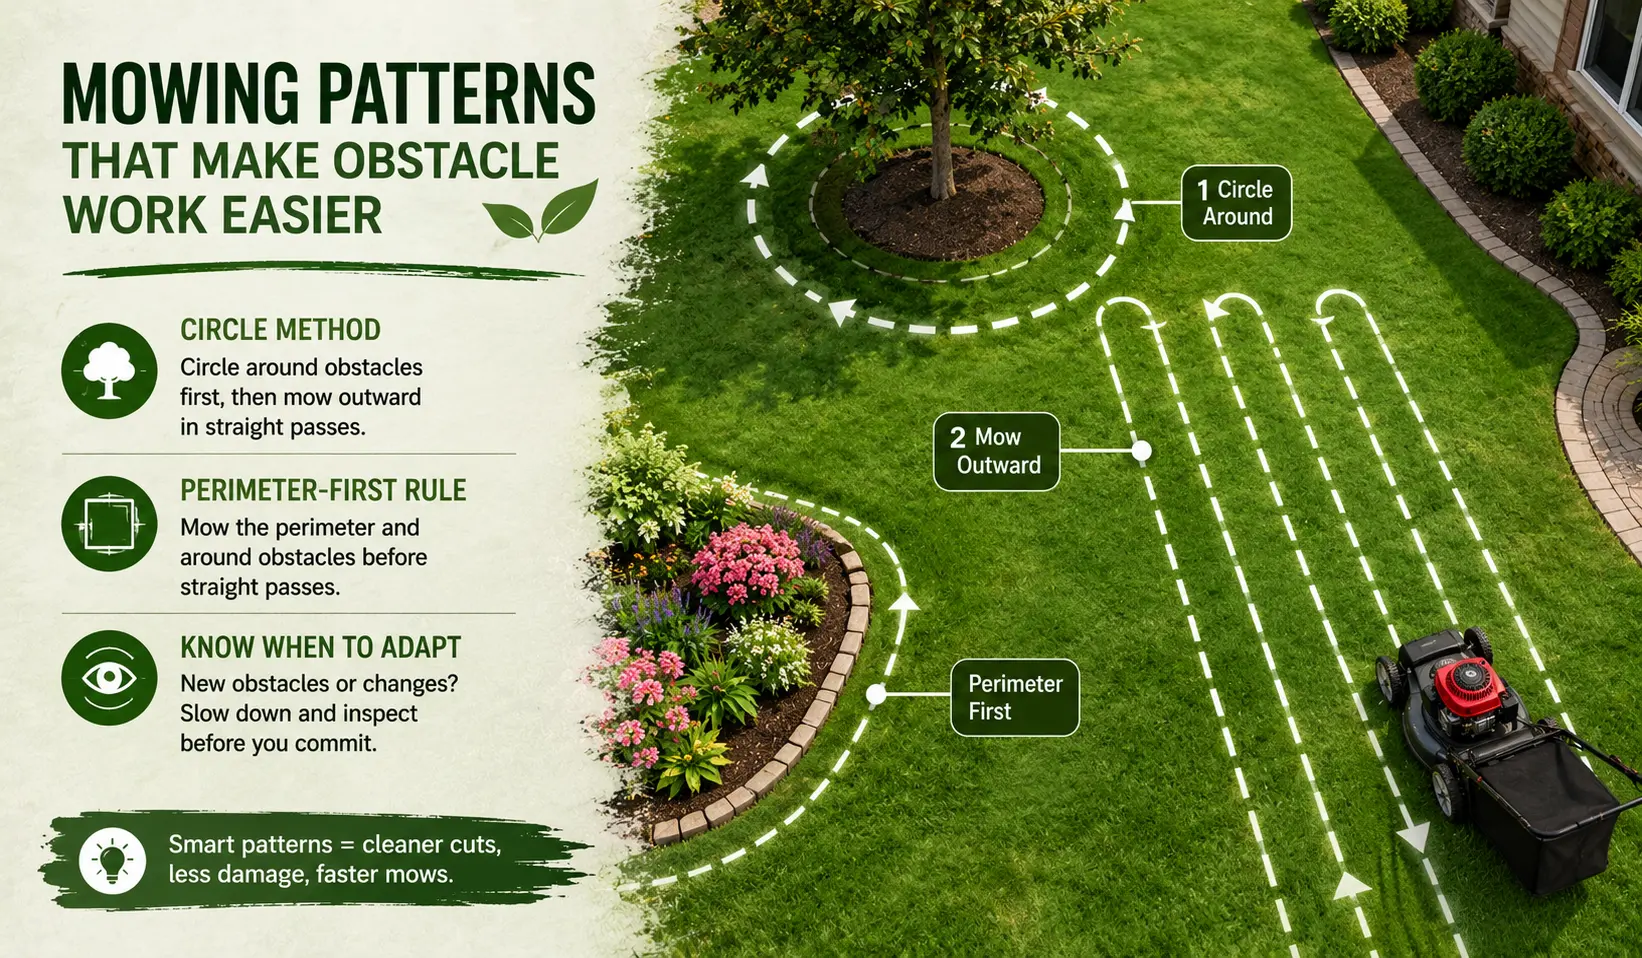
The Perimeter-First Rule
Before doing any straight passes across your lawn, mow the perimeter of the entire yard and around every obstacle. This gives you a turning lane at every edge and obstacle, so you’re never making a three-point turn on uncut grass.
Perimeter-first also means your straight passes end cleanly at a mowed strip, not at an obstacle edge where you’d have to make an awkward stop.
When to Break the Pattern
Patterns work until the yard changes. If a new obstacle appears, if a bed edge shifts, or if you’re mowing a new property for the first time – slow down and make a reconnaissance pass at trimmer height before committing to a mowing pattern.
I break the pattern any time I’m unsure about ground clearance. A slow, high-deck inspection pass never hurts.
Common Mistakes That Wreck Your Yard
Most lawn damage near obstacles is preventable. These two mistakes cause the majority of it.
Mower Scalping – What It Is and How to Stop It
Scalping is when the mower blade cuts below the grass into soil, thatch, or roots. Near obstacles, it happens at soft edges, root-raised ground, and any point where the deck tilts.
Fix it by raising your cutting height near obstacles – even half a notch higher than your standard setting. Grass grows back from a slightly long cut. It doesn’t recover quickly from scalping, which can expose bare soil and invite weeds.
Bermuda and Zoysia lawns are more tolerant of lower cuts in open areas but are not more tolerant of scalping. Don’t assume a drought-hardy grass is also scalp-resistant.
Repeatedly Running Over the Same Spots
Every tire pass compresses soil. Every string trimmer pass at the same spot risks bark contact. Repeated contact with the same surface roots causes mechanical damage that accumulates over seasons.
Vary your approach direction slightly each week. If you always circle a tree clockwise, the soil on one side gets more compression than the other. Alternate directions, or use a mulch ring to remove the problem entirely.
My Final Recommendation
After years of maintaining yards with mature oaks, raised beds, decorative boulders, and every kind of awkward obstacle, my honest advice is: reduce the number of obstacles you have to mow around.
Mulch rings around trees. Defined mulch or gravel borders around statues and posts. Clean, hard-edged beds instead of soft, informal ones. Every step you take to define a clear non-grass zone around an obstacle is time you save on every mow for the rest of the season.
For the obstacles you can’t eliminate – AC units, downspouts, permanent structures – settle into a routine. Edge first. Mow perimeter first. Use the trimmer for anything the mower can’t reach cleanly. The routine takes longer the first time you do it right, and less time every mow after that.
The yards that look best aren’t maintained by people who mow faster. They’re maintained by people who slow down in the right places.
Pros and Cons: Main Techniques Compared
| Technique | Pros | Cons |
|---|---|---|
| Mulch ring around trees | No mowing/trimming needed at base; helps tree health; saves time every mow | Upfront labor to install; needs annual topping |
| String trimmer at base | Works on any obstacle; no prep required | Risk of bark damage if rushed; more steps per mow |
| Perimeter-first mowing | Cleaner turns; reduces scalping at edges | Adds one extra pass per mow |
| Circle method around obstacles | Consistent clearance; no angle-cutting at edges | Slightly longer initial setup per obstacle |
| Hard edging before mowing | Clean lines; prevents bed edge migration | Requires a dedicated tool; extra step each session |
| Raised bed with hard border | Clear mowing stop point; less edge migration | Initial installation cost; mower still misses inner strip |
Frequently Asked Questions About Mowing Around Trees and Obstacles
How far should I keep my mower from a tree trunk?
Keep the mower deck at least 6 inches from young tree trunks and 12 inches from mature trees, especially those with visible surface roots. Anything closer risks bark damage from the deck or blade. Use a string trimmer for the remaining grass inside that clearance zone.
Does mowing over tree roots actually hurt the tree?
Yes. Running a mower over surface roots causes two types of damage: direct blade or deck contact that cuts or scrapes the root, and repeated soil compression from the tires. Both reduce the tree’s ability to absorb water and nutrients. If you have visible surface roots, treat that area as a trimmer-only zone.
Should I edge before or after mowing?
Edge before mowing, always. Edging first creates debris that the mower picks up on the next pass, and it gives you a clean visual line for your perimeter mowing pass. Edging after mowing throws debris onto grass you’ve already cut and requires cleanup.
What is the best way to mow around a raised flower bed?
Run the mower tire parallel to and directly against the outside of the bed wall. The wall acts as a guide and stops you from cutting into the bed. Follow up with a string trimmer for the narrow strip between the mower deck and the inside edge of the wall that the mower can’t reach.
How do I stop my lawn from getting scalped near bed edges?
Mow parallel to the edge on your final approach pass rather than at an angle. Keep the deck height one setting higher than your standard cut near edges with soft or uneven soil. Tamp down soft edge soil before mowing season begins to reduce the risk of the deck dropping into a dip.
Is it okay to use a string trimmer close to tree bark?
Yes, but carefully. Keep the trimmer line horizontal and aimed at the grass, not the trunk. High-speed line contact against bark causes the same cumulative damage as mower contact over time. Stay 2-3 inches away from the trunk and work slowly in that zone.
What should I do about obstacles I can’t mow or trim around at all?
Install a small mulch or gravel ring around the base – even a 6-inch border is enough to eliminate the need for trimming in that spot. It’s a one-time 10-minute job that removes the obstacle from your mowing routine permanently.