
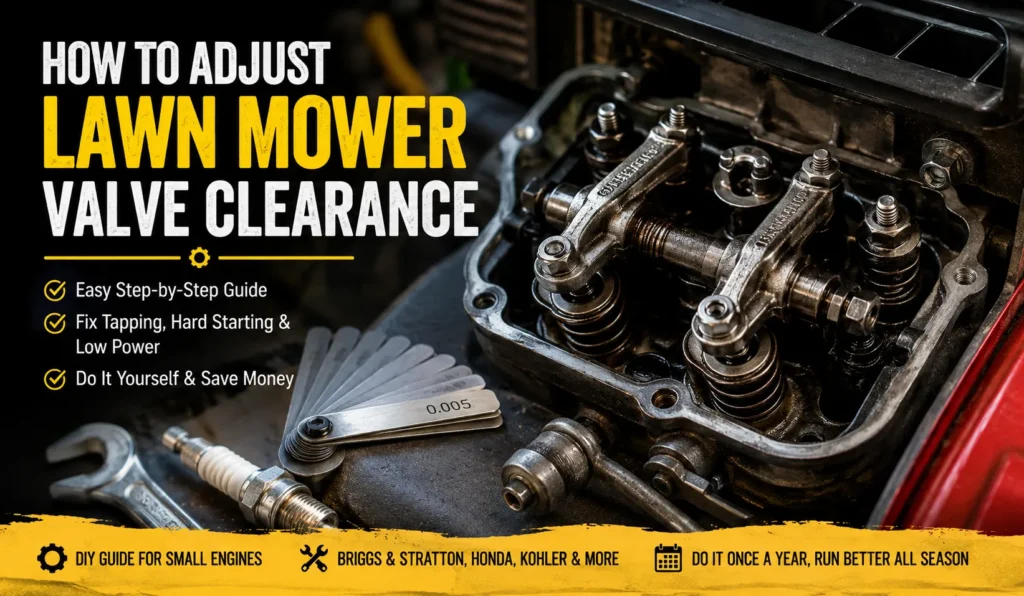
Quick Overview
- Valve clearance adjustment fixes hard starting, tapping noises, and poor power on small engines like Briggs & Stratton, Honda GCV, Kohler, and Kawasaki.
- The job takes 45–90 minutes once you know what you’re doing. My first one took almost three hours.
- You need a feeler gauge set, a spark plug socket, a few wrenches, and your engine’s spec sheet.
- Do this once a year, or any time you hear a tapping sound from the top of the engine.
- I’ve done this on more engines than I can count. Here’s exactly how I do it, mistakes included.
My neighbor’s Briggs & Stratton wouldn’t start last spring. Not “runs rough,” not “sputters.” Wouldn’t start at all. Three pulls, nothing. I figured carburetor. I was wrong.
It was valve clearance. Learning how to adjust lawn mower valve clearance was the thing that actually got that mower running again, not a carb clean, not fresh gas, not a new spark plug.
I’ve since pulled valve covers on Hondas, Kohlers, Kawasakis, and more Briggs engines than I can count. This guide is for anyone with a mower in the garage and a Saturday morning to spare – DIYers, budget-conscious homeowners, and people who’ve never opened up a small engine before. No dealership trip required for most of these jobs.
I’ll walk you through exactly what I do, in the order I do it, including the parts I got wrong the first few times.
Why Valve Clearance Matters (And What Happens If You Ignore It)
Valve clearance is the small gap between the rocker arm and the valve stem when the valve is closed. That gap matters because metal expands when it heats up. Without the right gap, valves can’t seat properly once the engine warms.
Too tight, and the valve never fully closes. Too loose, and you get noise, lost power, and rough idling. Either way, the engine cycle – intake, compression, power, exhaust – stops working the way it should.
Signs Your Valve Clearance Is Off
Here’s what usually tips me off before I even open the engine:
- A rhythmic tapping or clicking noise from the top of the engine, especially at idle.
- Hard starting, even with a fresh spark plug and clean fuel.
- Noticeably lower power when cutting thick grass.
- Rough or uneven idle that wasn’t there before.
If you’re hearing any of these, valve clearance is worth checking before you replace anything else.
What Bad Valve Clearance Does to Your Engine Over Time
A valve that’s too tight can burn. It stays open slightly during compression, hot combustion gases blow past it, and the valve face erodes. I’ve seen this ruin an exhaust valve on an older Briggs engine that had never been adjusted in fifteen years.
A valve that’s too loose just gets noisy and inefficient at first. Left long enough, the extra hammering wears down the rocker arm and the valve tip. Neither failure happens overnight, but both get expensive if you wait.
Tools You’ll Need Before You Start
You don’t need a shop full of equipment. Here’s what’s actually on my bench every time I do this job.
Feeler Gauges and Wrenches
- A feeler gauge set, ideally one with both inch and metric blades.
- A spark plug socket and ratchet.
- A socket or wrench set to fit your valve cover bolts (usually 8mm or 10mm).
- A flathead or Phillips screwdriver, depending on your cover style.
Optional but Helpful Tools
- A valve cover gasket, in case the old one tears on removal.
- Blue thread locker for the adjustment screw, if your engine uses one.
- A shop light or headlamp. Valve covers are rarely in a well-lit spot.
- A small magnetic parts tray, so you don’t lose a bolt in the grass.
Typical Clearance Specs by Brand
These are common factory ranges I’ve worked with. Always confirm against your specific model’s spec sheet or owner’s manual before adjusting, since clearance varies by engine size and year.
| Brand | Intake Valve (typical) | Exhaust Valve (typical) |
|---|---|---|
| Briggs & Stratton (most single-cylinder) | 0.003–0.005 in | 0.005–0.007 in |
| Honda GCV/GC series | 0.002–0.004 in | 0.002–0.004 in |
| Kohler Courage/Command | 0.003–0.005 in | 0.007–0.009 in |
| Kawasaki FC/FR series | 0.004–0.006 in | 0.006–0.008 in |
Note the pattern: exhaust clearance usually runs slightly looser than intake, because the exhaust valve runs hotter and expands more.
Step-by-Step: How I Adjust Valve Clearance
This is the exact order I follow, engine after engine. Skipping steps is how you strip a bolt or measure the gap wrong.
Step 1 – Let the Engine Cool Completely
Don’t skip this. I did once, on a Kohler I’d just finished mowing with, and burned two knuckles on the muffler reaching past it. Wait at least an hour, longer if it’s a hot day.
Cold metal gives you an accurate clearance reading. Warm metal has already expanded, and you’ll set the gap too tight.
Step 2 – Remove the Spark Plug and Valve Cover
Pull the spark plug wire first, always. This keeps the engine from accidentally firing while your hands are inside it.
Remove the spark plug itself. This lets the engine turn over freely by hand later. Then take off the valve cover bolts and lift the cover straight up. If the gasket sticks, work a plastic scraper gently around the edge – don’t pry with metal, or you’ll gouge the mating surface.
Step 3 – Find Top Dead Center (TDC)
You need the piston at top dead center on the compression stroke, meaning both valves are closed. I do this by turning the flywheel by hand (clockwise, viewed from the flywheel side) while watching the valves.
Once both valves stop moving and stay closed, keep turning slowly until the piston reaches its highest point. Some engines have a TDC mark on the flywheel. If yours does, use it – it saves guesswork.
Step 4 – Measure the Gap with a Feeler Gauge
Slide the feeler gauge blade between the rocker arm and the valve stem. It should slide in with light drag, not fall through loose and not require force.
I always start with the blade size matching the low end of the spec range, then work up until I feel that gentle resistance. That click of the gauge catching just right – that’s the moment you know you’ve got it.
Check both intake and exhaust valves this way. Write the readings down before you touch anything, so you know exactly what needs adjusting.
Step 5 – Adjust and Recheck
If the gap is off, loosen the rocker arm’s locknut, turn the adjustment screw slightly, then recheck with the gauge. Small movements only – a quarter turn can change the gap more than you’d expect.
Once the gauge slides with the right amount of drag, hold the screw steady and tighten the locknut. Recheck the gap one more time after tightening, since the nut can shift the screw slightly as it seats.
Adjustment Reference by Brand
| Brand | Adjustment Method | Locknut Torque (typical) |
|---|---|---|
| Briggs & Stratton | Screw-and-locknut rocker | 45–55 in-lbs |
| Honda GCV | Shim or screw, model-dependent | 80–100 in-lbs |
| Kohler | Screw-and-locknut rocker | 90–100 in-lbs |
| Kawasaki | Screw-and-locknut rocker | 70–90 in-lbs |
Torque specs vary by exact model year. Check your manual before final tightening if you have access to it.
What I’ve Learned Testing This Across Different Engines
Every brand has its own quirks. Here’s what actually surprised me the first time I worked on each one.
Older Briggs & Stratton Engines
Older single-cylinder Briggs engines are the most forgiving to work on. Plenty of room around the valve cover, and the rocker arm setup is simple.
My mistake here: on a twenty-year-old engine, the adjustment screw was so corroded it wouldn’t turn smoothly. I had to soak it in penetrating oil overnight before it would move without stripping.
Honda GCV Engines
Honda GCV engines are tighter to work in. Less clearance around the cover, and some models use a shim system instead of a simple screw adjustment, which takes more patience.
The first Honda I adjusted, I assumed it used the same screw-and-locknut setup as my Briggs experience. It didn’t. I had to stop, look up the actual service procedure, and start over with the right shims on hand.
Kohler and Kawasaki Differences
Kohler engines tend to run a wider exhaust clearance than the other brands I’ve worked on, which caught me off guard the first time – I set it like a Briggs and had to redo it.
Kawasaki engines, in my experience, hold their clearance well over time. I’ve adjusted a few that were barely off spec after years of use, while a Briggs of the same age had drifted noticeably.
Clearance Drift Comparison
| Brand | How Often I’ve Needed to Readjust |
|---|---|
| Briggs & Stratton | Every 1–2 seasons on well-used mowers |
| Honda GCV | Rarely needed before 3+ seasons |
| Kohler | Every 2 seasons on average |
| Kawasaki | Rarely needed before 3+ seasons |
This isn’t a lab test, just my own pattern across the engines I’ve personally serviced.
Common Mistakes People Make
Adjusting While the Engine Is Warm
This is the mistake I see most, because it’s tempting to check clearance right after a mow when the problem is fresh on your mind. Warm metal has expanded, so you’ll set the gap too tight, and the problem comes back within weeks.
Using the Wrong Feeler Gauge Size
Grabbing the nearest blade instead of the one matching your engine’s actual spec is an easy trap. I did this on a Kohler early on, used a generic “small engine” chart instead of the model-specific spec, and had to redo the whole adjustment two days later when the tapping came back.
Always confirm the exact spec for your engine model, not just the brand in general.
Pros and Cons of DIY vs. Taking It to a Shop
| Factor | DIY | Shop |
|---|---|---|
| Cost | Under $30 for tools, reusable for years | $80–150 labor, plus parts |
| Time | 45–90 minutes once you know the process | Same day to a few days, depending on shop backlog |
| Learning curve | Real, especially the first attempt | None – you drop it off |
| Best for | Comfortable engines like older Briggs, GCV | Complex or unfamiliar setups, warranty-covered mowers |
| Risk | Stripped bolts or wrong clearance if rushed | Low, assuming a competent shop |
If your mower is under warranty, check with the manufacturer before opening anything yourself. Opening the engine can void coverage on some models.
My Final Recommendation
If you’re hearing a tap from your mower’s engine, or it’s been more than a season since anyone checked the valves, this is worth doing yourself. It’s not a complicated job once you’ve done it once. The tools are cheap, and you’ll use them again.
I’d start with an older Briggs & Stratton engine if you’re new to this, since the layout is the most forgiving and parts are easy to find. Save the Honda GCV or anything with shims for after you’ve got one or two adjustments under your belt.
The first time you finish, put the spark plug back in, pull the cord, and hear the engine catch clean and quiet instead of that tap you started with – that’s when you know it worked.
Frequently Asked Questions
What is lawn mower valve clearance?
Valve clearance is the small gap between the rocker arm and the valve stem when the valve is fully closed. It allows for metal expansion as the engine heats up, so the valve seats properly during operation.
How do I know if my valve clearance is off?
Listen for a tapping or clicking noise from the top of the engine, especially at idle. Hard starting, lower power, and rough idling are also common signs, even with fresh fuel and a new spark plug.
How often should I check valve clearance on a lawn mower?
Once a year is a reasonable baseline for most homeowners. Engines used heavily, like commercial mowers, may need checks every season. If you hear tapping, check it immediately rather than waiting.
Can I adjust valve clearance without removing the engine?
Yes. This is a job you can do with the engine still mounted on the mower. You only need to remove the spark plug, valve cover, and in some cases the shroud covering the top of the engine.
What happens if I set the valve clearance too tight?
A valve that’s too tight won’t fully close during compression. Hot combustion gases can blow past it, which burns the valve face over time and can lead to permanent damage and lost compression.
Do all small engines use the same valve clearance spec?
No. Clearance varies by brand and model, and sometimes by year within the same model line. Always check your engine’s specific spec sheet or manual rather than relying on a generic figure.
What tools do I need to check valve clearance?
A feeler gauge set, a spark plug socket, and a wrench or socket to fit your valve cover bolts. A gasket for the cover and a shop light are useful but not required for every engine.